
As a parent, I understand the importance of keeping your baby’s feeding equipment clean and free from harmful bacteria. One of the most overlooked areas of a bottle warmer is the build-up of limescale and bacteria, which can be harmful to your baby’s health. In this guide, I will show you the simple and effective method to descale your bottle warmer, ensuring that it is free from limescale and bacteria and safe for your baby to use. This method is not only essential to maintain the performance of your bottle warmer but also crucial for your baby’s health and safety. Follow these steps to keep your bottle warmer clean and hygienic for your little one.
Key Takeaways:
- Regular descaling is crucial: Regular descaling of your bottle warmer is essential to prevent limescale buildup and ensure it continues to function efficiently.
- Use white vinegar: White vinegar is a simple and effective solution for descaling your bottle warmer, as it helps dissolve limescale and remove bacteria.
- Follow manufacturer’s instructions: Always refer to the manufacturer’s instructions for specific descaling procedures and recommended cleaning products to avoid damage to the bottle warmer.
- Thorough cleaning is important: Ensure that all parts of the bottle warmer are thoroughly cleaned and descaled to maintain proper hygiene and prevent bacterial growth.
- Regular maintenance is key: Incorporate descaling and cleaning of your bottle warmer into your regular maintenance routine to prolong its lifespan and ensure safe use for your baby.
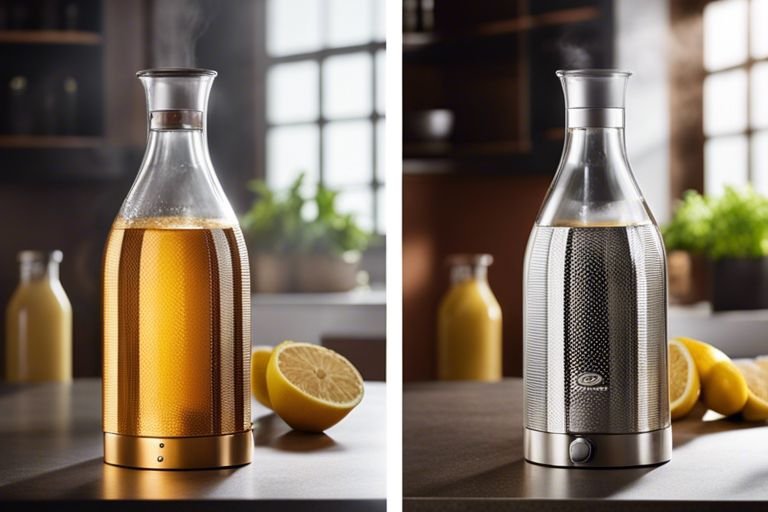
Types of Bottle Warmers
Before I delve into the descaling process, it’s important to understand the different types of bottle warmers. There are various options available in the market, each with its own advantages and drawbacks. Here’s a breakdown to help you choose the right one for your needs:
| Type | Description |
|---|---|
| Electric Bottle Warmers | Convenient and efficient, these bottle warmers use electricity to heat the bottle. They are suitable for everyday use and come with various settings for different bottle sizes. |
| Portable Bottle Warmers | Perfect for on-the-go parents, portable bottle warmers use battery power or a car adapter to warm the bottle. They are lightweight and easy to carry around. |
Electric Bottle Warmers
Electric bottle warmers are a popular choice among parents due to their convenience and efficiency. With the ability to heat the bottle quickly and evenly, they are suitable for everyday use. Most electric bottle warmers come with adjustable settings to accommodate different bottle sizes. However, it’s important to regularly descale them to prevent limescale buildup and ensure the safety of your baby’s bottle.
Portable Bottle Warmers
For parents who are always on the go, portable bottle warmers are a lifesaver. These compact devices use battery power or a car adapter to warm the bottle, making them perfect for travel. However, it’s important to note that portable bottle warmers may not heat the bottle as evenly or quickly as electric warmers. It’s crucial to follow the manufacturer’s instructions to ensure safe and effective use.
Tips for Preventing Limescale and Bacteria Buildup
The key to preventing limescale and bacteria buildup in your bottle warmer is regular maintenance and proper usage. Here are some tips to help you keep your bottle warmer clean and functioning properly:
- Regular Cleaning and Maintenance: I recommend cleaning your bottle warmer after each use to prevent limescale and bacteria from building up. This will ensure that your bottle warmer remains in good working condition. Additionally, make sure to descale your bottle warmer regularly to prevent limescale buildup. Use a mixture of water and vinegar to descale the warmer and remove any mineral deposits.
- Using Distilled Water: Using distilled water can help prevent limescale buildup in your bottle warmer. Distilled water contains fewer minerals than tap water, reducing the risk of limescale forming inside the warmer. This simple switch can go a long way in maintaining the cleanliness of your bottle warmer.
- Proper Storage: After each use, make sure to properly dry and store your bottle warmer. Leaving water in the warmer can lead to bacterial growth, so ensure that it is completely dry before storing it away. This will prevent bacteria from forming and keep your warmer in top condition.
Knowing these tips and implementing them in your bottle warmer maintenance routine will help you avoid limescale and bacteria buildup, ensuring a safe and efficient heating of your baby’s bottles.
Regular Cleaning and Maintenance
Regular cleaning and maintenance of your bottle warmer is crucial in preventing limescale and bacteria buildup. After each use, make sure to clean the warmer thoroughly to prevent any deposit from forming. Additionally, descaling the warmer on a regular basis will ensure it remains free from limescale, maintaining its efficiency and safety for your baby.
Using Distilled Water
Using distilled water instead of tap water can significantly reduce the risk of limescale buildup in your bottle warmer. The lower mineral content in distilled water decreases the likelihood of deposits forming inside the warmer, keeping it clean and functioning properly.
Proper Storage
Properly drying and storing your bottle warmer after each use is essential to prevent bacterial growth. Make sure the warmer is completely dry before storing it away to avoid any potential bacterial buildup. This simple step can go a long way in maintaining the cleanliness and safety of your bottle warmer.
Step-by-Step Guide to Descaling Bottle Warmers
Your baby’s health is of paramount importance, and that includes ensuring their feeding equipment is clean and free from limescale and bacteria. Descaling your bottle warmer is a simple and effective way to achieve this. Here’s a step-by-step guide to descaling your bottle warmer to maintain a safe and hygienic feeding environment for your little one.
Gather Necessary Supplies
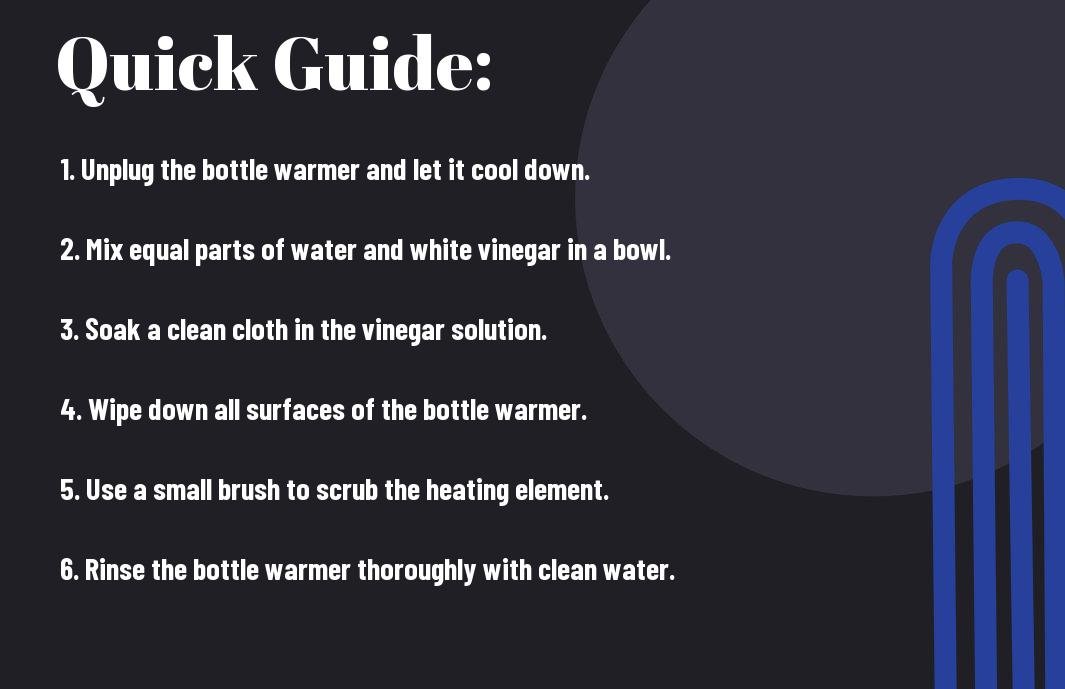
Before beginning the descaling process, ensure you have all the necessary supplies at hand. You will need white vinegar, water, a clean cloth, and a small brush or sponge. These simple supplies are all you need to effectively remove limescale and bacteria from your bottle warmer.
Prepare the Solution
To create the descaling solution, mix equal parts of white vinegar and water in a container. The acidity of the vinegar helps to break down limescale and kill bacteria, making it an effective and natural cleaning agent for your bottle warmer. Ensure the bottle warmer is unplugged before proceeding to the next step.
Descale the Bottle Warmer
Once the solution is prepared, pour it into the bottle warmer and allow it to sit for at least 30 minutes. The acidic solution will work to dissolve any limescale buildup and eliminate bacteria present in the appliance. After the allotted time, use a small brush or sponge to scrub the interior of the bottle warmer, paying particular attention to any stubborn limescale deposits. This step is crucial in ensuring the thorough removal of any buildup and contaminants.
Rinse and Dry
After thoroughly scrubbing the interior of the bottle warmer, rinse it with clean water to remove any residual vinegar solution. Ensure that all traces of the descaling solution are completely eliminated. Once rinsed, use a clean cloth to dry the bottle warmer, ensuring that no moisture is left behind. This step is important in preventing any potential damage or rusting of the appliance.
Factors to Consider When Descaling Bottle Warmers
Unlike other cleaning tasks, descaling a bottle warmer requires some thoughtful considerations. Here are the factors you should keep in mind before descaling your bottle warmer:
- Frequency of Use: How often you use the bottle warmer will determine how frequently it needs descaling.
- Water Hardness Levels: The hardness of the water you use to fill the bottle warmer can affect how quickly limescale builds up.
- Type of Bottle Warmer: Different types of bottle warmers may require different descaling methods, so it is important to consider the type of warmer you have.
Perceiving these factors will help you determine the most appropriate descaling schedule and method for your bottle warmer.
Frequency of Use
Depending on how often you use your bottle warmer, you may need to descale it more or less frequently. If you use it multiple times a day, it’s a good idea to descale it monthly. For less frequent use, descaling every 2-3 months may be sufficient. Keep an eye on any limescale build-up as a visual cue to determine when descaling is necessary.
Water Hardness Levels
The hardness of the water you use can directly impact the build-up of limescale in your bottle warmer. If you live in an area with hard water, limescale can accumulate more quickly. Regular descaling is essential in this case. If you’re unsure about the hardness of your water, you can test it using a water hardness testing kit available at most hardware stores.
Type of Bottle Warmer
The type of bottle warmer you own will also influence the descaling process. For instance, if you have a steam-based bottle warmer, it may require more frequent descaling due to the mineral deposits left behind by the steam. On the other hand, if you have a water bath warmer, it may require less frequent descaling. Always refer to the manufacturer’s guidelines for the appropriate descaling method for your specific bottle warmer.
Pros and Cons of Different Descaling Methods
When it comes to descaling your bottle warmer, there are several methods you can use. Each method has its own pros and cons that you should consider before choosing the best one for your needs.
| Method | Pros and Cons |
| Chemical Descalers | Effective at removing limescale and bacteria, but may leave residue and require thorough rinsing |
| Vinegar Solution | Natural and non-toxic, but may leave a lingering odor and require multiple applications |
| Lemon Juice Solution | Effective at removing limescale and bacteria, but may require longer soaking time and not suitable for all materials |
Chemical Descalers
When it comes to descaling your bottle warmer, using a chemical descaler can be an effective method. These products are specifically designed to remove limescale and bacteria from your warmer, leaving it clean and safe for use. However, it’s important to note that some chemical descalers may leave a residue on the warmer’s surfaces, which can be harmful if ingested. Therefore, it’s crucial to thoroughly rinse the warmer after using a chemical descaler to ensure that no residue remains.
Vinegar Solution
An alternative to chemical descalers is using a vinegar solution. This natural and non-toxic method can effectively remove limescale and bacteria from your bottle warmer. However, one downside of using vinegar is that it may leave a lingering odor in the warmer, which can affect the taste and smell of the milk or formula heated in the warmer. Additionally, depending on the severity of the limescale buildup, you may need to apply the vinegar solution multiple times to achieve optimal results.
Lemon Juice Solution
Using a lemon juice solution is another natural method for descaling your bottle warmer. The citric acid in lemon juice is effective at breaking down limescale and eliminating bacteria. However, one potential drawback of this method is that it may require a longer soaking time to achieve the desired results. Furthermore, lemon juice may not be suitable for all materials, so it’s important to check the compatibility of this method with your particular bottle warmer.
Conclusion
Hence, descaling your bottle warmer is a crucial step in maintaining the hygiene and efficiency of the appliance. By following the simple and effective method outlined in this guide, you can ensure that limescale and bacteria are effectively removed from your bottle warmer, allowing it to function optimally and provide safe and clean warming for your baby’s bottles. Regular descaling will also prolong the lifespan of your bottle warmer, saving you time and money in the long run. I highly recommend incorporating descaling into your regular cleaning routine to keep your baby’s bottles safe and your bottle warmer in top condition.
FAQ
Q: What is limescale and why is it important to descale a bottle warmer?
A: Limescale is a hard, chalky deposit that can build up in appliances that heat water, such as a bottle warmer. Descaling is important to remove limescale build-up, which can affect the performance and efficiency of the bottle warmer and may also harbor bacteria.
Q: How often should I descale my bottle warmer?
A: It is recommended to descale your bottle warmer every 1-3 months, depending on frequency of use. If you notice limescale build-up or a decrease in performance, it’s time to descale.
Q: What supplies do I need to descale a bottle warmer?
A: You will need white vinegar or a descaling solution, water, a soft cloth or sponge, and a bowl or container for mixing the descaling solution.
Q: Can I use a descaling solution instead of white vinegar?
A: Yes, there are descaling solutions specifically formulated for appliances like bottle warmers. Follow the manufacturer’s recommendations for diluting and using the descaling solution.
Q: How do I descale my bottle warmer?
A: To descale your bottle warmer, mix equal parts white vinegar or descaling solution and water in a bowl or container. Pour the solution into the bottle warmer and let it sit for about 15-30 minutes, then rinse thoroughly with water. Use a soft cloth or sponge to wipe away any remaining limescale. Be sure to refer to the bottle warmer’s manual for specific descaling instructions.